You’ve carefully prepped your surface, applied a perfect first coat of paint, and now comes the question that separates the amateurs from the pros: do you really need to sand it before the next coat? It can feel like a tedious, unnecessary step, especially when you’re eager to see the finished product.
The truth is, sometimes it's absolutely critical, and other times it's a complete waste of your energy. This guide is all about knowing the difference. We’ll walk through exactly when sanding between coats is the secret to a durable, glass-smooth finish, and when you can confidently put the sandpaper away and keep painting. Of course, technique is only half the battle — if you're still second-guessing the color itself, our rundown of common paint color myths tackles the other half of getting a room right.
Why Sanding Between Coats is a Pro Painter's Secret
When you apply a second coat of paint, you need it to stick firmly to the first. This happens in two ways: a chemical bond, where the new coat fuses with a still-fresh first coat, or a mechanical bond, which is what you create with sanding.
More Than Just Smoothness
Think of a dried, glossy coat of paint like a pane of glass. Trying to paint over it is like trying to get a new layer to stick to a slippery, non-porous surface. A light scuff-sand doesn't aim to remove the paint you just applied. Instead, it serves two key purposes. First, it knocks down any minor imperfections that may have appeared as the paint dried—tiny dust nibs, subtle brush strokes, or almost-invisible drips.
Creating a 'Mechanical Grip'
Second, and just as important, it creates microscopic scratches, or 'teeth', across the entire surface. This insight is key: sanding isn't just about smoothness; it's about creating a profile for the next coat to grip onto. This dramatically increases the durability of the final finish and is the single best way to prevent peeling and chipping down the road, especially with shinier paints.
The Golden Rule: When Sanding is Non-Negotiable
In certain situations, skipping the sanding step is asking for trouble. If your project falls into one of these categories, consider a light sanding a necessary part of the process.
For Shiny Finishes (Semi-Gloss & High-Gloss)
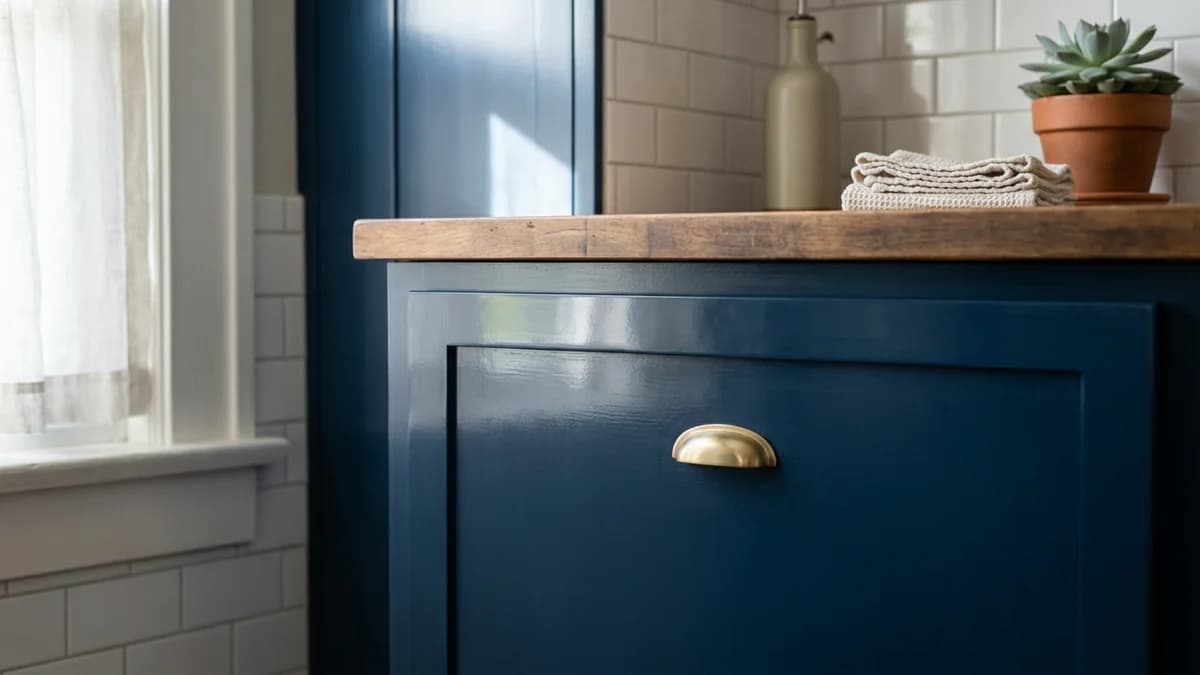
Here’s the most important rule of thumb: the shinier the paint finish, the more critical sanding becomes. High-gloss and semi-gloss paints are formulated with more binders, which cure into a hard, smooth, and non-porous shell. A second coat of paint has almost nothing to adhere to on this slick surface. A quick scuff-sand is the only way to guarantee a lasting mechanical bond. Without it, the topcoat is prone to scratching off with a fingernail or peeling away in sheets later.
On High-Touch, Hard-Working Surfaces
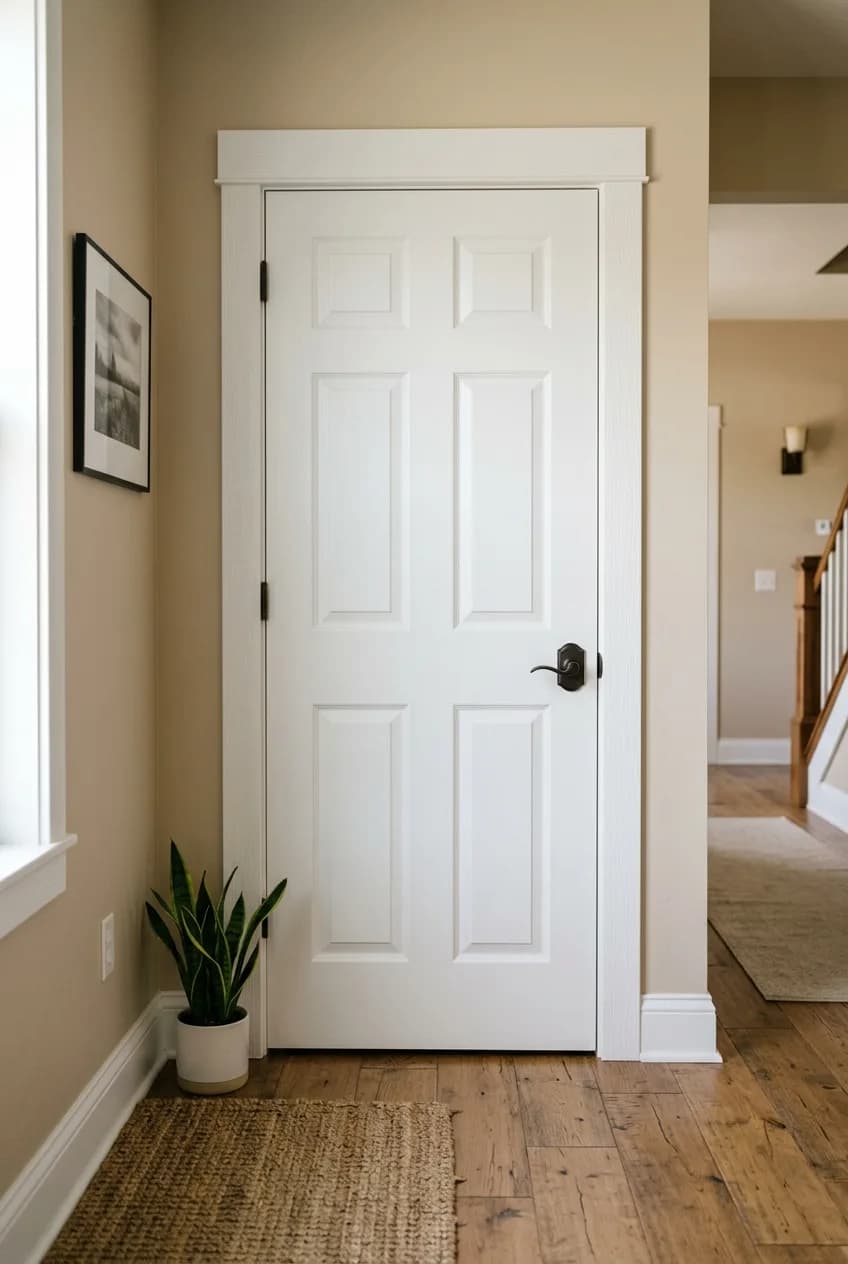
Think about the surfaces in your home that see the most action: kitchen cabinets, interior doors, window trim, and furniture. These high-touch areas demand a tough, resilient finish. Because these projects are almost always finished in a durable semi-gloss or satin paint, sanding between coats is non-negotiable for creating a finish that can withstand daily wear and tear.
To Correct Mistakes and Missed Windows
More in DIY
How to Build a Raised Garden Bed That Will Last Forever
Even the most careful painter ends up with a small drip or run sometimes. Once that mistake has fully dried, your only option is to sand it perfectly smooth before applying the next coat. You also need to sand if you've missed the manufacturer's 'recoat window'. This is the time frame (usually 2-4 hours for latex paint) where a chemical bond is still possible. If you wait a full day, the paint has cured too much, and you'll need to sand to create a mechanical bond instead.
Scenario | Why You Must Sand | Consequence of Skipping |
|---|---|---|
Using Semi-Gloss or High-Gloss Paint | The cured finish is too slick for a new coat to adhere to. | Poor adhesion, peeling, and easy scratching. |
Painting Cabinets, Doors, or Trim | These high-use surfaces need the strongest possible bond for durability. | The finish will fail prematurely under normal use. |
You See a Dried Drip or Flaw | Sanding is the only way to level the imperfection. | The flaw will be magnified by the next coat of paint. |
You Missed the Recoat Window | The paint is too cured for a chemical bond; a mechanical bond is required. | The topcoat may not bond properly and could fail. |
Save Your Time: When You Can Confidently Skip Sanding
Now for the good news. There are plenty of common painting projects where sanding between coats is an unnecessary chore. Knowing when to skip it will save you time and effort without compromising your results.
For Flat or Matte Finishes
If you're applying a second coat of flat or matte paint, you can almost always skip sanding. These finishes have a high ratio of pigment to binder, which gives them a slightly porous, almost chalky texture when dry. This provides a natural 'tooth' that the next coat of paint can easily grip onto without any extra help.
When Working Inside the 'Recoat Window'
The paint can is your best friend here. The 'recoat window' specified by the manufacturer is your golden ticket to avoiding extra work. As long as you apply your next coat within that specified time, the solvents in the new paint will soften the layer beneath, allowing them to fuse together chemically. For most latex wall paints, this window is just a few hours.
If a Perfect Surface Isn't the Goal
Finally, consider the project itself. If a perfectly slick, uniform surface isn't the main goal—for example, on a rustic piece of furniture, a textured plaster wall, or a simple craft project—sanding for minor imperfections is probably overkill. Speaking of common project mistakes, these paint color myths trip up a lot of DIYers too.
The Perfect Sanding Technique: A Step-by-Step Guide
When you do need to sand, doing it correctly is fast and easy. The goal is a quick, light scuffing, not an aggressive removal of paint.
Choose the Right Sandpaper
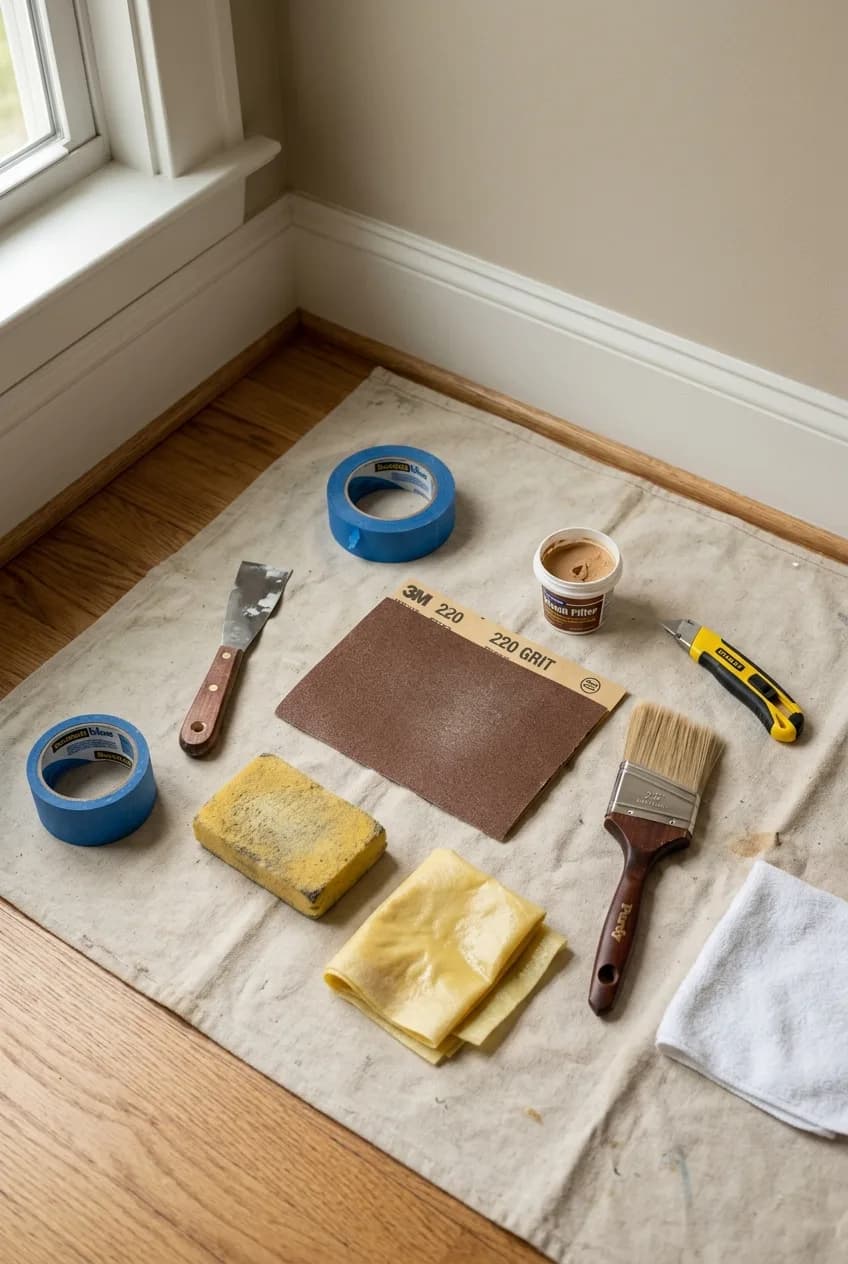
For sanding between coats of paint, you want a very fine grit. A 220-grit sandpaper is the perfect choice. Anything coarser (like 120- or 150-grit) will leave visible scratches in the finish that the next coat of paint might not hide. A flexible sanding sponge (in 'fine' or 'extra-fine') is also an excellent tool, as it conforms easily to curves and profiles on trim or furniture.
The Sanding and Cleaning Process
Patience is key. You must wait for the paint to be fully cured, not just dry to the touch. For latex paint, this is typically at least 24 hours. Sanding too soon will tear the paint film. Once it's ready, follow these simple steps:
- Use light, even pressure. Let the sandpaper do the work. You are just trying to dull the sheen and feel for any bumps.
- Move in the direction of the grain if you're working on wood. For other surfaces, use long, straight strokes.
- Wipe the surface with your hand. It should feel uniformly smooth and chalky, with no glossy spots remaining.
- Thoroughly remove all the dust. This is the most critical step. The biggest mistake DIYers make is failing to clean up properly. Leaving a fine layer of sanding dust will create a gritty, rough texture in your next coat, completely defeating the purpose of sanding. Use a tack cloth or a slightly damp microfiber rag to wipe down the entire surface until it's perfectly clean.
Troubleshooting Common Sanding Issues
Even with a simple task like scuff-sanding, you can run into a few common problems. Here’s how to handle them.
Problem: Your Sandpaper is 'Gumming Up'
Is your sandpaper clogging with gummy paint instead of producing a fine, white powder? Stop immediately. This is the tell-tale sign that the paint isn't fully cured, and the friction is tearing the soft paint film. Continuing will only create a mess. The only solution is patience—walk away and give it another 24 hours to harden before trying again.
Problem: You've Sanded Through the Paint
Accidentally sanded through to the primer? It's an easy fix. Simply feather the edges of the bare spot with your sandpaper to create a smooth transition. Wipe it clean, apply a dab of primer to the area, and let it dry completely before proceeding with your next coat.
Problem: Stubborn Brush Marks Won't Go Away
And what about persistent brush marks? While a light sanding will knock down minor ridges, it won't fix deep grooves from bristles. If you're still seeing heavy brush marks after the first coat, more sanding isn't the answer. The real issue is more likely your application technique—perhaps you're over-brushing partially dry paint. It could also be the quality of your brush or the paint itself. A high-quality paint with self-leveling properties makes a real difference. Be sure to address the root cause before you apply another coat.