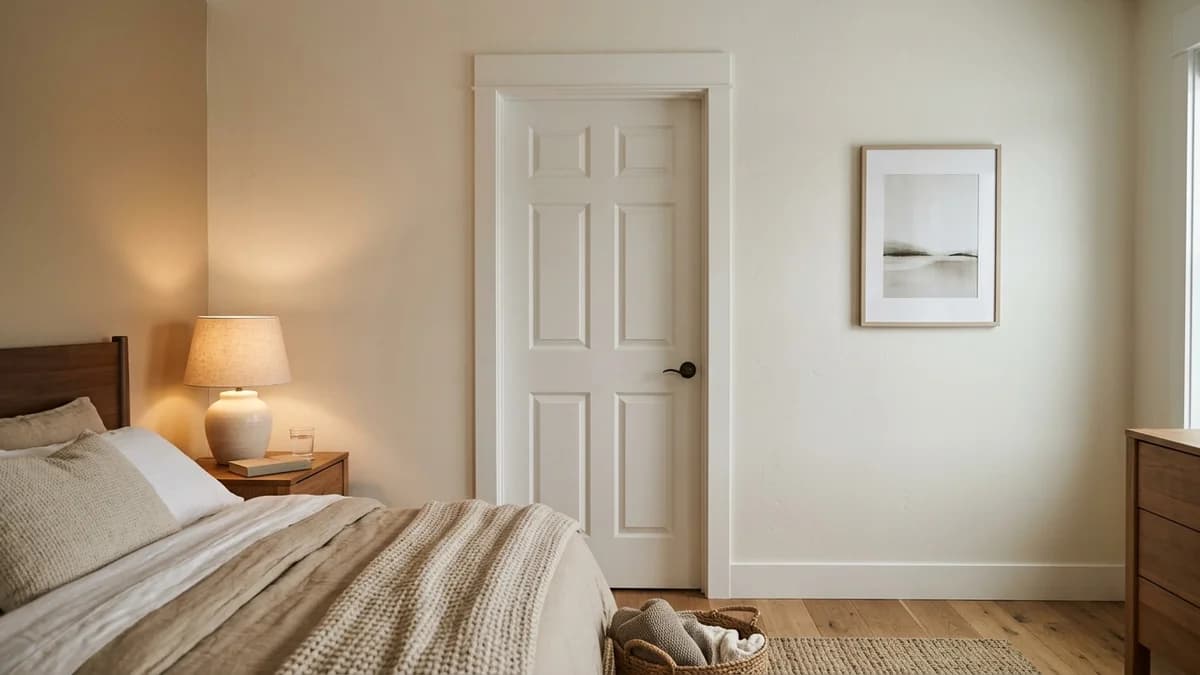
Your bedroom should be a sanctuary, a quiet retreat from the rest of the world—and the rest of the house. But so often, it’s not. The sound of the TV, late-night conversations, or early-morning activity can bleed right in, making it hard to relax or sleep. You might think you need a new, expensive door, but the real culprit is usually much simpler.
The single biggest source of noise in most bedrooms is the door, but not for the reason you might think. It's less about the door's material and more about the gaps all around it. Sound travels with air, and any gap is an open invitation for noise to come pouring in. The good news? Sealing those gaps and adding some density to your existing door is surprisingly effective and can be done on a very tight budget. Let's walk through how to achieve some real peace and quiet, one practical step at a time.
Why Your Bedroom Door is a Noise Superhighway
Before you can solve the problem, it helps to understand exactly what you're up against. Sound is sneaky. It doesn't just pass through solid objects; it finds the path of least resistance, which is almost always the air gaps around your door.
Most interior doors in American homes are "hollow-core," meaning they are essentially a light wooden frame with a thin skin of wood veneer or composite on each side and a cardboard honeycomb structure inside. They’re affordable and light, but they do very little to block sound. A "solid-core" door, made of dense particleboard or solid wood, is naturally a much better sound blocker due to its sheer mass. But replacing a door is a costly and often unnecessary step.
You’re dealing with two types of sound. The first is airborne sound, like voices, music, or a television. This is the sound that travels through the air and slips through cracks. The second is structure-borne sound, which is vibration traveling through the building's frame, like heavy footsteps or a subwoofer. While a door can't do much about structure-borne noise, you can make a massive difference with airborne sound.
Here’s the single most important thing to know: most people focus on the door itself, but sealing the air gaps around the frame and under the door often provides 80% of the soundproofing benefit for less than 20% of the cost of more complex solutions. This is where we’ll start.
The Biggest Bang-for-Your-Buck: Sealing Every Gap
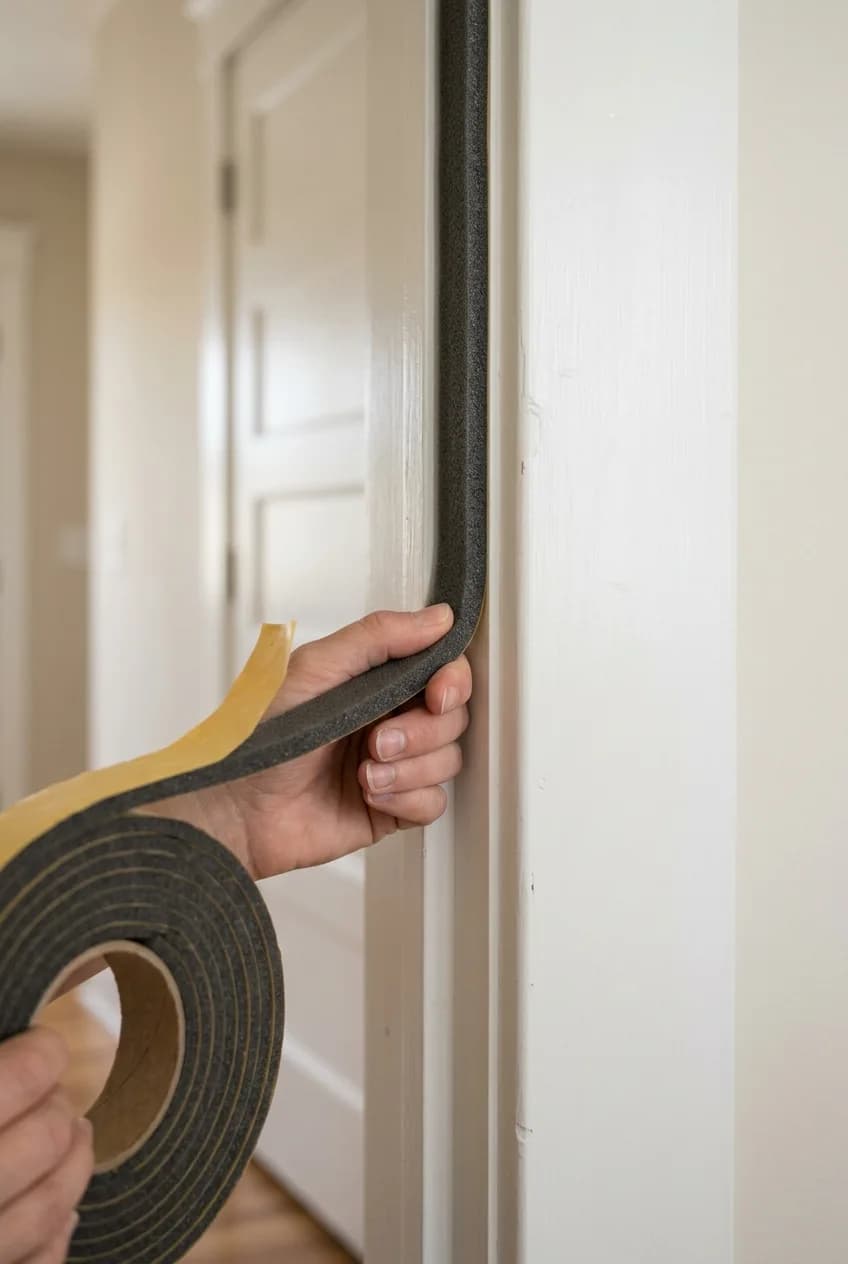
This is the foundational step. If you do nothing else, do this. Sealing the perimeter of your door is the cheapest, easiest, and most effective way to reduce noise transmission. You’re essentially creating an airtight seal that sound struggles to get through.
Sealing the Frame (Top and Sides)
The goal here is to line the door stop—that thin strip of wood on the frame that the door rests against when closed—with a compressible seal. Self-adhesive weatherstripping is perfect for this.
- Clean the Surface: Use a cloth with some rubbing alcohol to wipe down the entire door stop on the top and both sides. This ensures the adhesive will get a proper grip.
- Choose Your Material: You can find rolls of high-density foam or more durable rubber (EPDM) weatherstripping at any hardware store. Rubber tends to last longer and create a better seal, but foam is a perfectly good starting point.
- Apply Carefully: Cut a strip for the top of the frame first. Peel back a few inches of the adhesive backing at a time and press the stripping firmly onto the face of the door stop where the door will make contact. Don't stretch it as you apply. Repeat for both sides.
Tackling the Gap Underneath
That half-inch (or more!) gap at the bottom of your door is a massive noise leak. You have several great options here, ranging from temporary and free to more permanent and effective.
Option | Cost | Effectiveness | Best For |
|---|---|---|---|
DIY Draft Stopper | $0 - $10 | Fair | Renters, testing the concept, or a zero-budget fix (a rolled-up towel works in a pinch). |
Stick-On Door Sweep | $10 - $15 | Good | An easy, renter-friendly, and effective seal. A flexible vinyl or rubber flap attaches to the bottom of the door. |
Screw-In Door Sweep | $15 - $25 | Better | Homeowners looking for a more durable, permanent solution. Creates a very tight seal against the threshold. |
The Final Seal: Acoustic Caulk
Take a close look at the trim or molding around your door frame. Do you see any small cracks or gaps between the edge of the trim and the wall? Sound loves these tiny cracks. For a truly complete seal, you can run a bead of acoustic caulk along this seam. Unlike regular caulk, acoustic caulk is designed to remain flexible, so it absorbs vibrations and won't crack over time. It's a small detail that delivers a professional-level result.
It’s amazing what this step alone can accomplish. A cheap roll of foam weatherstripping and a rolled-up towel as a temporary door sweep can dramatically reduce muffled conversations and TV noise, proving you can make a big difference for under $20.
Add Mass to the Door (Without Replacing It)
Once you've sealed the air gaps, the next principle of soundproofing is adding mass. A heavier, denser object is harder for sound waves to vibrate, which means less sound gets through. If you have a hollow-core door, adding mass is the most impactful upgrade you can make.
The Quick and Easy Cover-Up: Soundproof Blankets
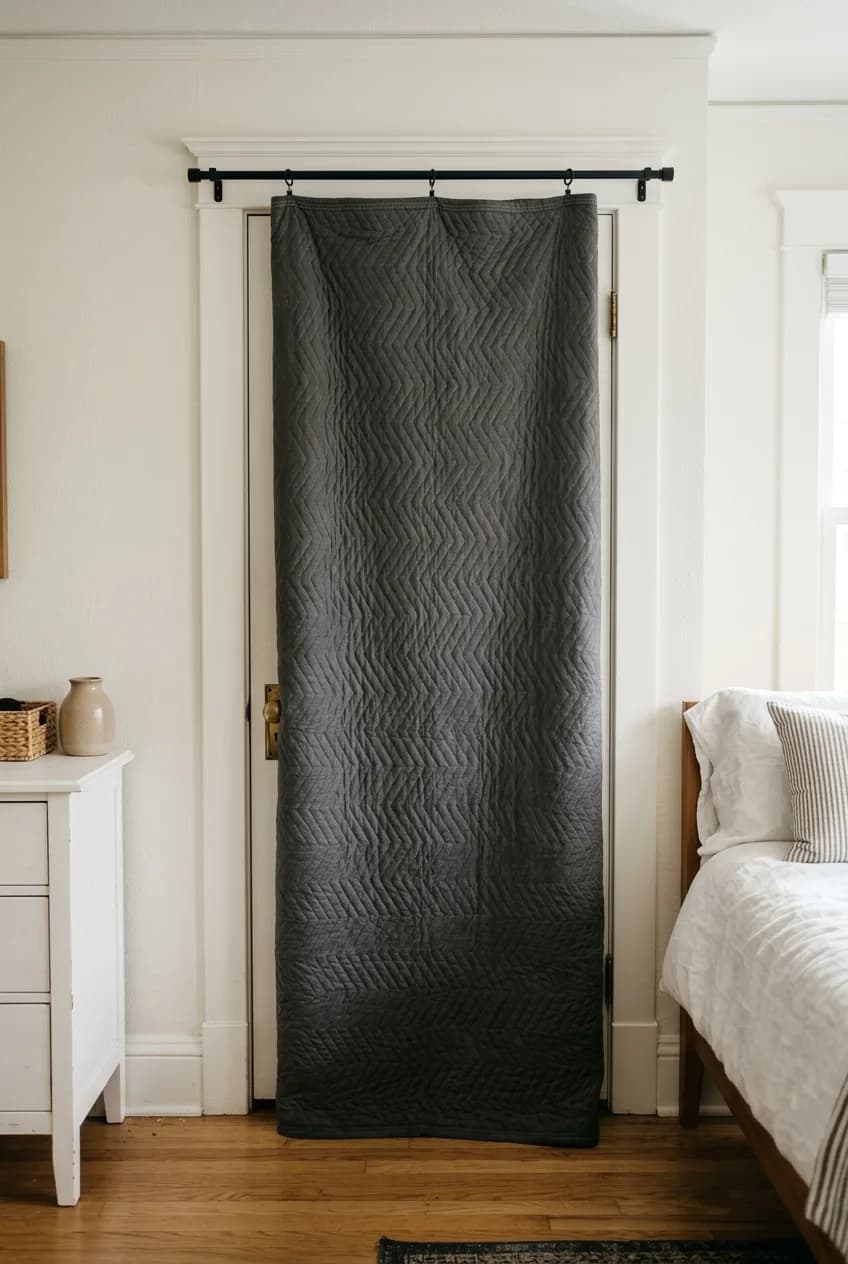
One of the simplest ways to add mass is to hang something heavy over the door. You can buy purpose-made soundproof blankets online; they are filled with dense material and have grommets for easy hanging. For a much cheaper alternative, a heavy moving blanket from a hardware store or U-Haul is surprisingly effective. They are thick, quilted, and designed for protection, which also makes them great at dampening sound.
To hang one, you can install a few sturdy hooks or even a small curtain rod above the door frame. The key is to make sure the blanket is wider and taller than the door, covering the frame itself to help seal any remaining leaks.
More in Room Ideas
Small Kitchen Layout Planning: Your First-Timer's Guide
A Pro-Level Solution: Mass Loaded Vinyl (MLV)
If you're serious about adding mass, Mass Loaded Vinyl is the next step up. MLV is a thin, flexible, but incredibly heavy sheet of vinyl-impregnated with metal particles. It's a professional soundproofing material. You can buy it by the roll, cut it to the exact size of your door, and attach it directly to the interior face of the door using a strong construction adhesive like Green Glue and/or screws with large washers to prevent tear-through. While it's a more involved project, it adds significant mass without much thickness.
What About Acoustic Foam?
This is a very common misconception. Those gray egg-crate foam panels you see in recording studios are designed for sound *absorption*, not sound *blocking*. They are great at stopping echo and reverb *within* a room, making it sound less hollow. They do very little to stop sound from passing *through* a door. While it might help absorb a tiny bit of echo, it should never be your primary tool for blocking sound.
Dealing With a Hollow Core Door: Two Budget Approaches
As we mentioned, that empty space inside a hollow door acts like a drum, resonating and even amplifying sound that hits its surface. If you've sealed the gaps and still need more silence, you can address the door itself without replacing it. Here are two methods to consider.
Method | Process | Pros | Cons |
|---|---|---|---|
Option 1: Add an MDF Panel | Cut a thin (1/4 or 1/2 inch) sheet of MDF or drywall to fit the door. Glue it to the interior face with construction adhesive, add a few screws for security, then prime and paint to match. | Adds significant, predictable mass. Safe, effective, and relatively easy DIY project. Looks clean when finished. | Adds weight and thickness to the door. Requires some basic tools (saw, drill) and finishing (painting). |
Option 2: Inject Acoustic Foam | Drill small holes in the top and bottom edges of the door and inject low-expansion acoustic spray foam to fill the internal cavity. | Fills the resonant cavity from the inside. | VERY RISKY. Standard foam can over-expand, warping and bubbling the thin door skins, permanently ruining the door. It can also be a messy process. |
Our recommendation? Adding a thin MDF panel is a much safer and more effective DIY method than injecting foam. It adds predictable mass right where you need it without the very real risk of destroying your door. A warped door won't close properly, creating brand new sound leaks and defeating the entire purpose of the project.
Your Step-by-Step Budget Soundproofing Plan
Feeling overwhelmed? Don't be. You can layer these solutions based on your budget and how much noise reduction you need. Always start with the cheapest, most effective step first.
- GOOD (Under $25): This is the baseline and provides the most improvement for the money. Focus only on sealing the gaps. Apply self-adhesive weatherstripping to the top and side jambs, and add a simple stick-on door sweep to the bottom. This alone can cut common household noise by more than half.
- BETTER (Under $75): Do everything in the 'Good' plan. Then, add a layer of mass by hanging a heavy, quilted moving blanket over the door. This combination tackles both air leaks and sound vibration through the door itself, making a very noticeable difference for TV and conversation noise.
- BEST (Under $125, for homeowners): If you have a hollow-core door and need maximum quiet, perform all the gap-sealing steps from the 'Good' plan. Then, instead of a blanket, add a permanent 1/4-inch MDF panel to the interior side of the door. This provides a huge boost in mass for a permanent, clean-looking finish.
The key is to layer solutions intelligently. Always seal the gaps first—it’s the single most important step. If you're still hearing too much noise, then and only then should you move on to spending more time and money on adding mass. A truly quieter bedroom is well within reach—no contractor required.
What You'll Need
Depending on which steps you choose to tackle, here are the essential materials. All of these can be found at your local hardware store.
- Rubbing alcohol and a clean cloth
- Self-adhesive foam or rubber weatherstripping
- Door sweep (stick-on or screw-in)
- Acoustic sealant and caulk gun (optional)
- Heavy moving blanket and hooks/rod (optional)
- MDF panel, construction adhesive, and screws (for advanced projects)