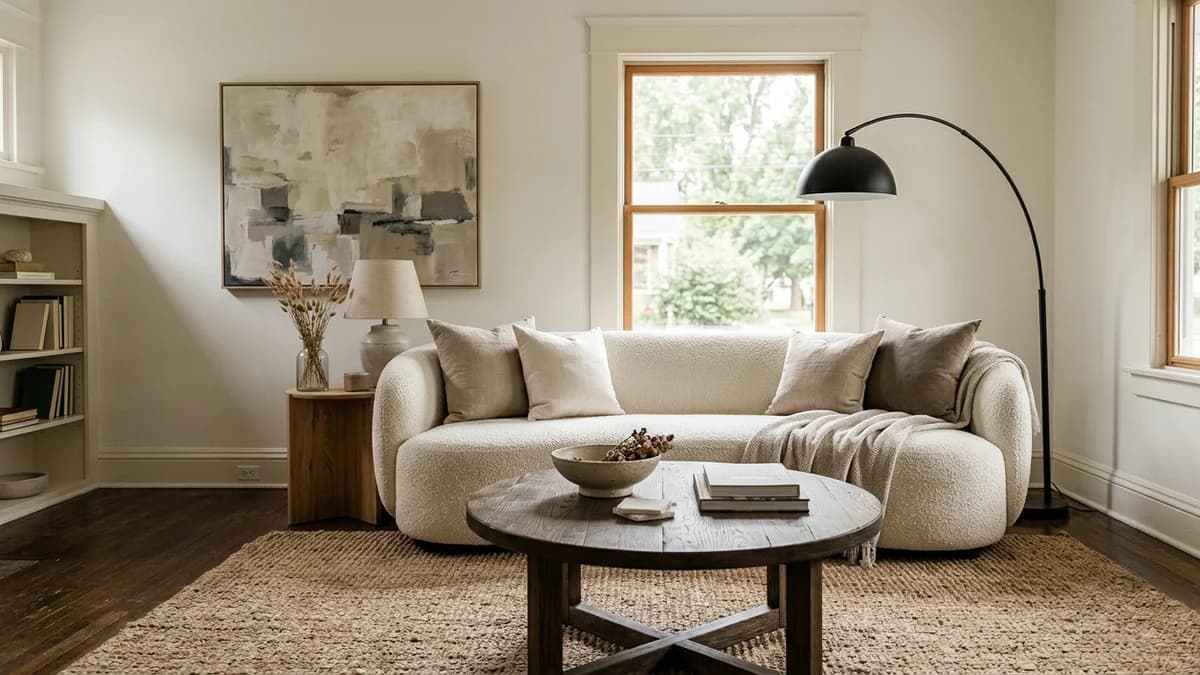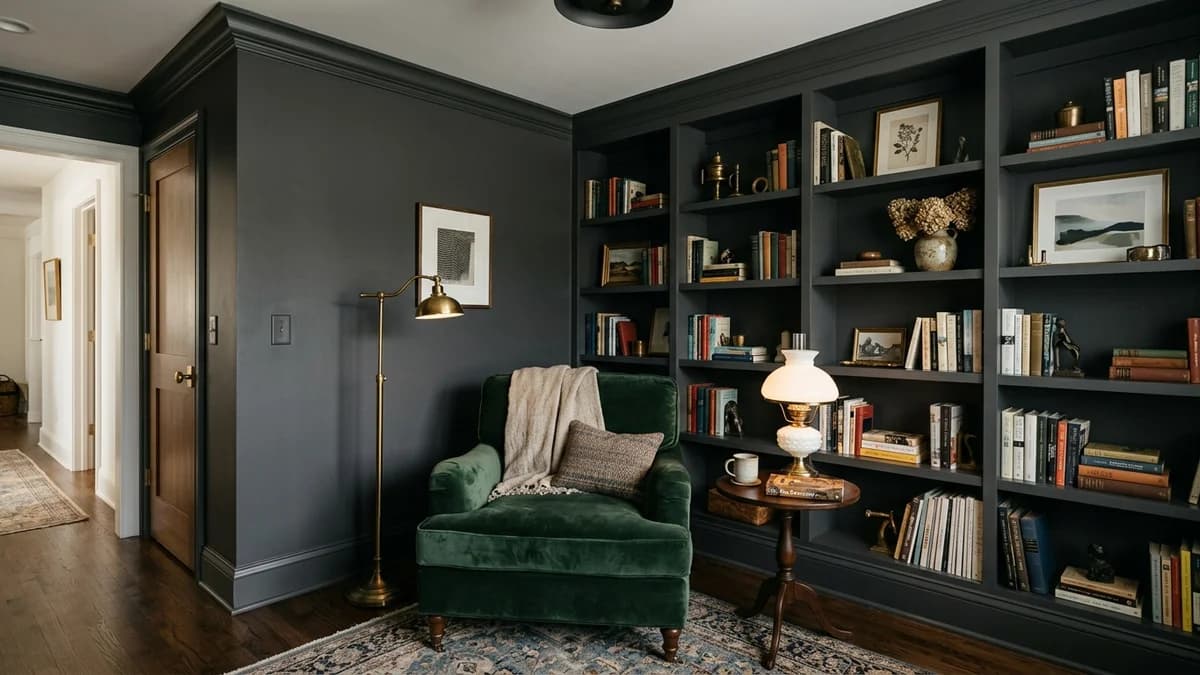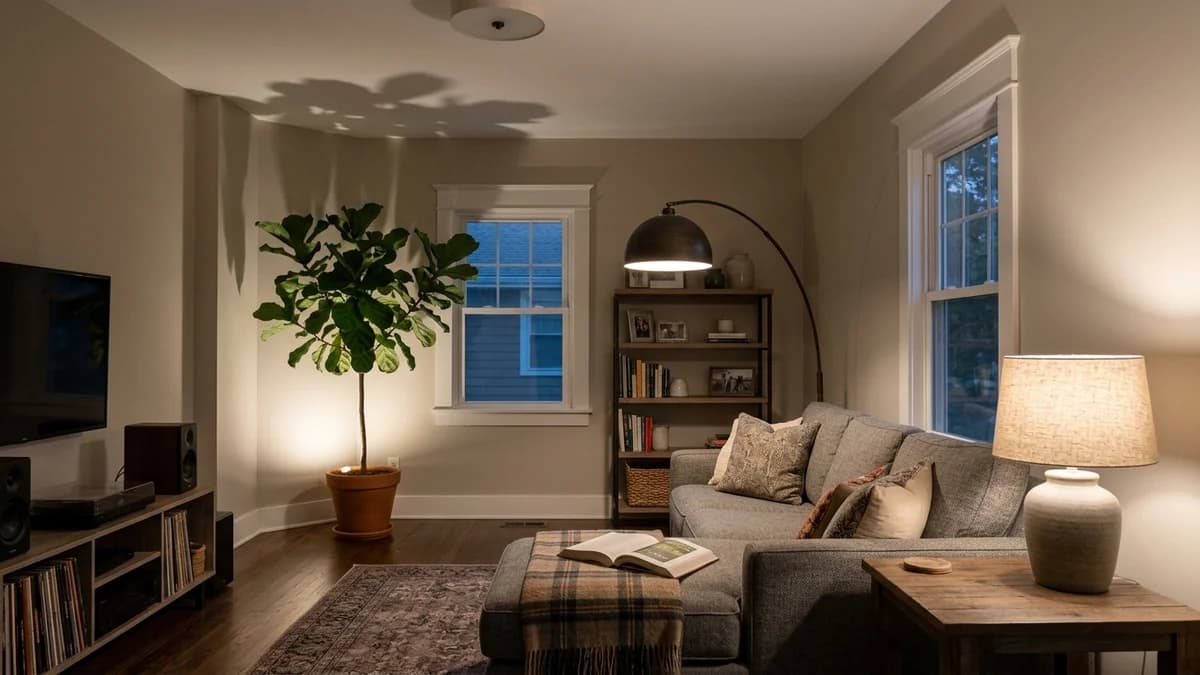
So many of us have been there: a single, lonely ceiling light in the center of the living room, bedroom, or office. It’s either off, leaving you in the dark, or on, blasting the room with a flat, unflattering glare. This type of single-source lighting, often unflatteringly nicknamed the “boob light,” creates harsh shadows and makes a space feel more like a storage unit than a cozy home.
But what if you could create a warm, inviting, and functional lighting scheme without calling an electrician or cutting into your drywall? You absolutely can. The secret is learning to think like a designer and layer your lighting.
This guide will walk you through transforming your room from a single-bulb situation to a beautifully lit space using nothing but clever placement and plug-in solutions. It’s about building a lighting 'wardrobe' for your room—giving you the perfect light for any occasion, from a brightly lit game night to a relaxing evening with a book.
Why Your Single Overhead Light Isn't Enough (and What Layering Means)
A single central fixture creates one-dimensional light. It shines straight down, which can make people and objects look stark and create awkward shadows in the corners of the room, making the space feel smaller. Layering, on the other hand, means using multiple light sources at different heights and intensities to build a rich, flexible, and comfortable atmosphere.
Professional designers think in three essential layers. The key is to understand that the single overhead fixture isn't the enemy; it's just an incomplete solution. We’re reframing it from the 'main light' to simply one part of a larger, more flexible system.
Lighting Layer | Purpose | Example Sources |
|---|---|---|
Ambient | Provides general, overall illumination for the room. This is your foundation. | Overhead fixture, torchieres, large floor lamps. |
Task | Focused, brighter light for specific activities like reading, cooking, or working. | Desk lamps, reading lamps next to a chair, under-cabinet lights. |
Accent | Adds drama and depth by highlighting architectural features, artwork, or decor. | Picture lights, uplights behind plants, LED strips. |
Step 1: Tame the 'Big Light'
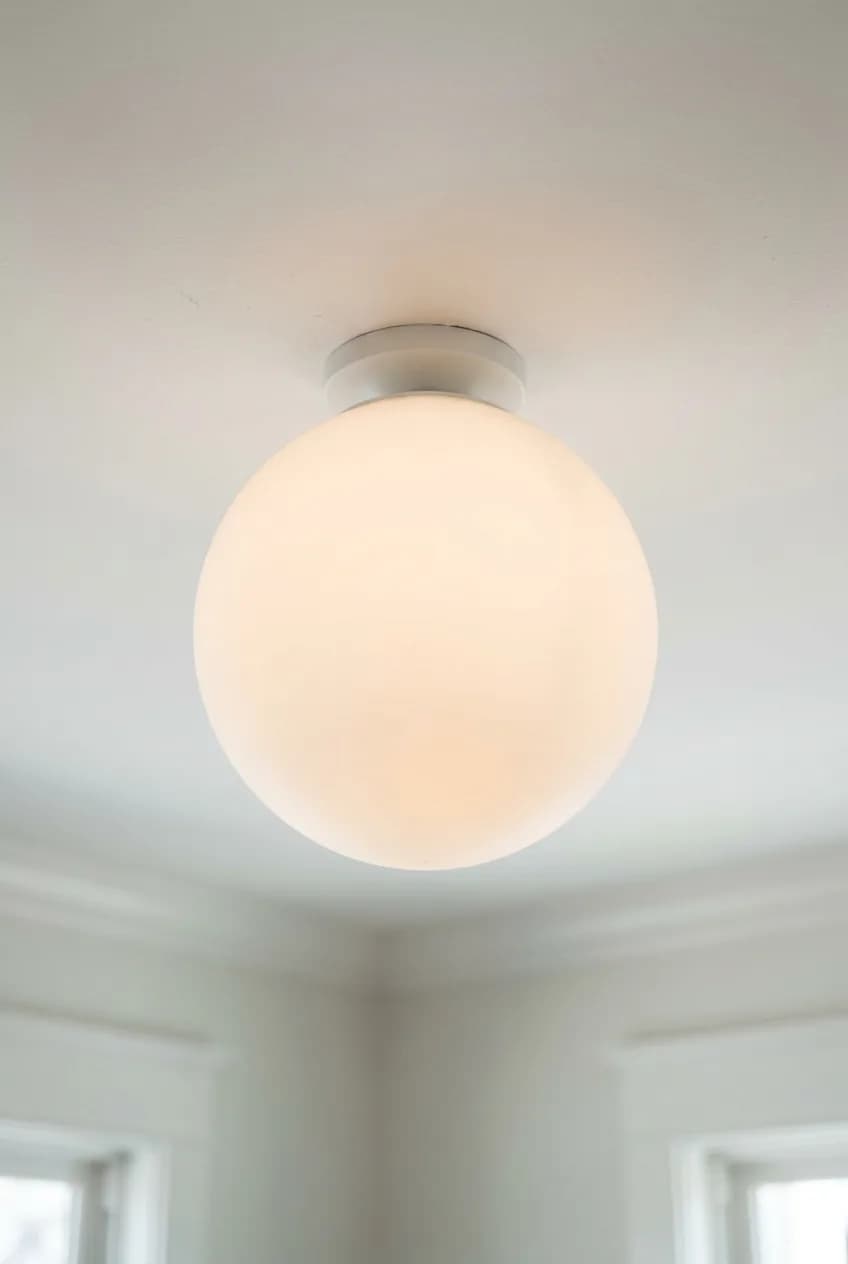
Before you add a single new lamp, let's fix the light you already have. The biggest and fastest improvement often comes not from adding new lights, but from gaining control over the color and intensity of the one you have. This is a low-cost, high-impact first step.
- Change the Bulb: Swap out that harsh, cool-white bulb for one with a warmer color temperature. Look for a bulb around 2700K (Kelvin) for a cozy, candle-like glow that's much more inviting. Pay attention to lumens (brightness), too—for a medium-sized living room, 800-1,500 lumens for this fixture is often plenty once you add other layers.
- Install a Dimmer: You don't need an electrician. For your overhead fixture, the easiest solution is a smart bulb. A Philips Hue, Wyze, or other brand of smart bulb can be controlled from your phone or a small remote, allowing you to dim it from 100% down to 1% instantly.
- Soften the Shade: If your fixture has a bare bulb or clear glass, it's going to create glare. Swap the shade for one made of a diffusing material like frosted glass, linen, or fabric. A simple drum or globe shade is a fantastic, affordable upgrade that spreads the light evenly and softly.
Step 2: Build Your Foundation with Floor and Table Lamps
With your overhead light softened and controlled, it's time to add the crucial ambient and task layers. This is where you'll really start to see the room transform. Plug-in floor and table lamps will become the workhorses of your new lighting scheme, lighting up dark corners and creating functional, inviting zones.
Choose the Right Tools for the Job
Not all lamps are created equal. Different styles serve very different purposes in your layered plan.
More in Home Decor
Matte vs. Eggshell vs. Satin: Choosing the Perfect Paint Finish for Your Living Room
Lamp Type | Best For | Placement Tip |
|---|---|---|
Torchiere Floor Lamp | Indirect Ambient Light. It shines light up onto the ceiling, which then reflects down to fill the room with soft, diffuse light. | Place in a corner that feels dark. It mimics the effect of recessed lighting without any of the work. |
Arc Floor Lamp | Task & Ambient Light. Its long arm can reach over a sofa or armchair, providing light for reading without taking up table space. | Position it so the head is over your primary seating area, providing a focused pool of light. |
Table & Reading Lamps | Focused Task Light. Perfect for end tables, desks, and consoles. These create cozy 'pools' of light for specific activities. | Place one beside your main reading chair or at either end of a sofa. Aim for the bottom of the shade to be at eye level when you're seated. |
Create a 'Triangle of Light'
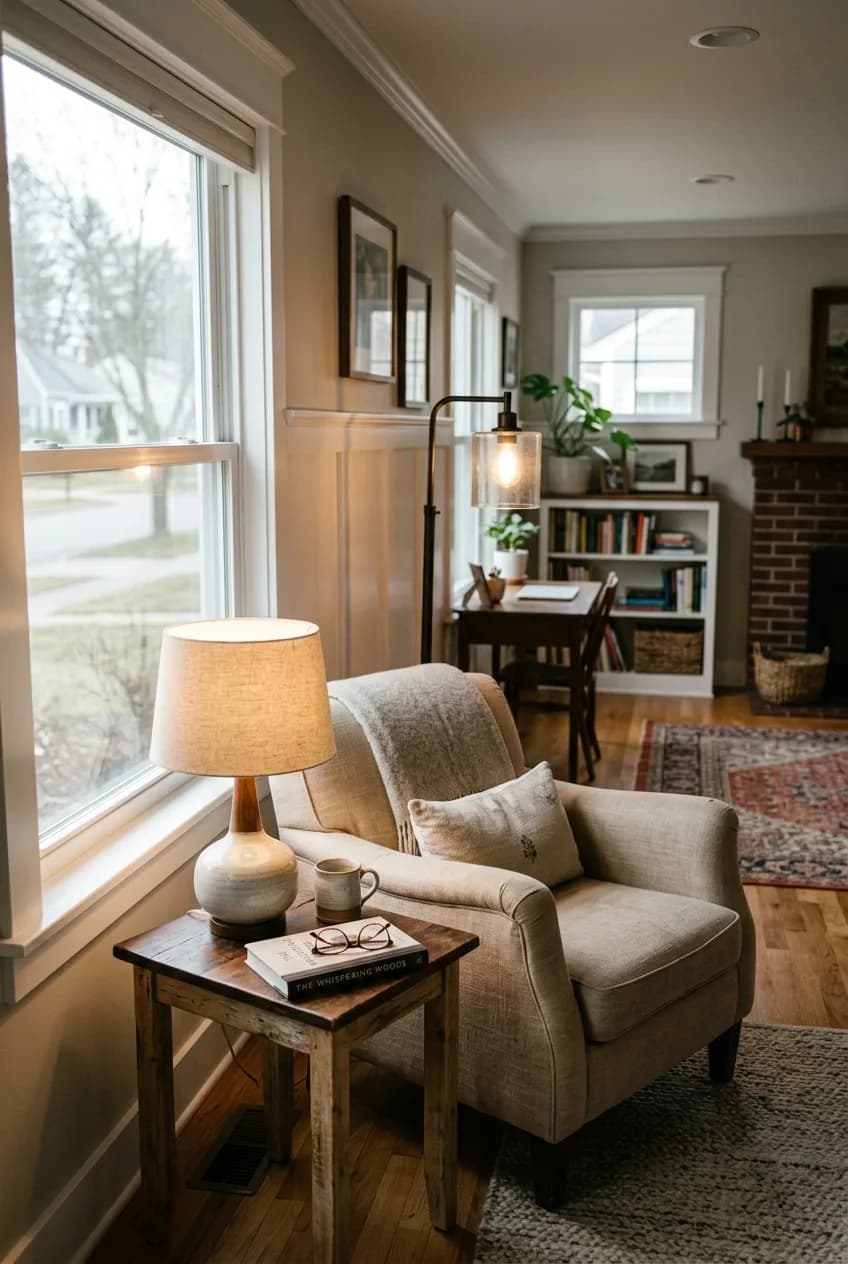
A simple rule of thumb for balanced lighting is to place at least three light sources in a rough triangle around the room. For example, a floor lamp in one corner, a table lamp next to the sofa, and another table lamp on a console table across the room. This draws the eye around the space and ensures no single area is left in shadow.
Remember to vary the heights of your lamps! Having all your light sources at the same level can feel monotonous. A mix of a tall floor lamp, a medium-height table lamp, and perhaps some low-slung accent lighting creates a much more dynamic, visually interesting space. The goal isn't just to light the room, but to light the *life* within it. That's the approach that makes a space feel truly designed and inviting.
Step 3: Add Depth and Drama with Accent Lighting
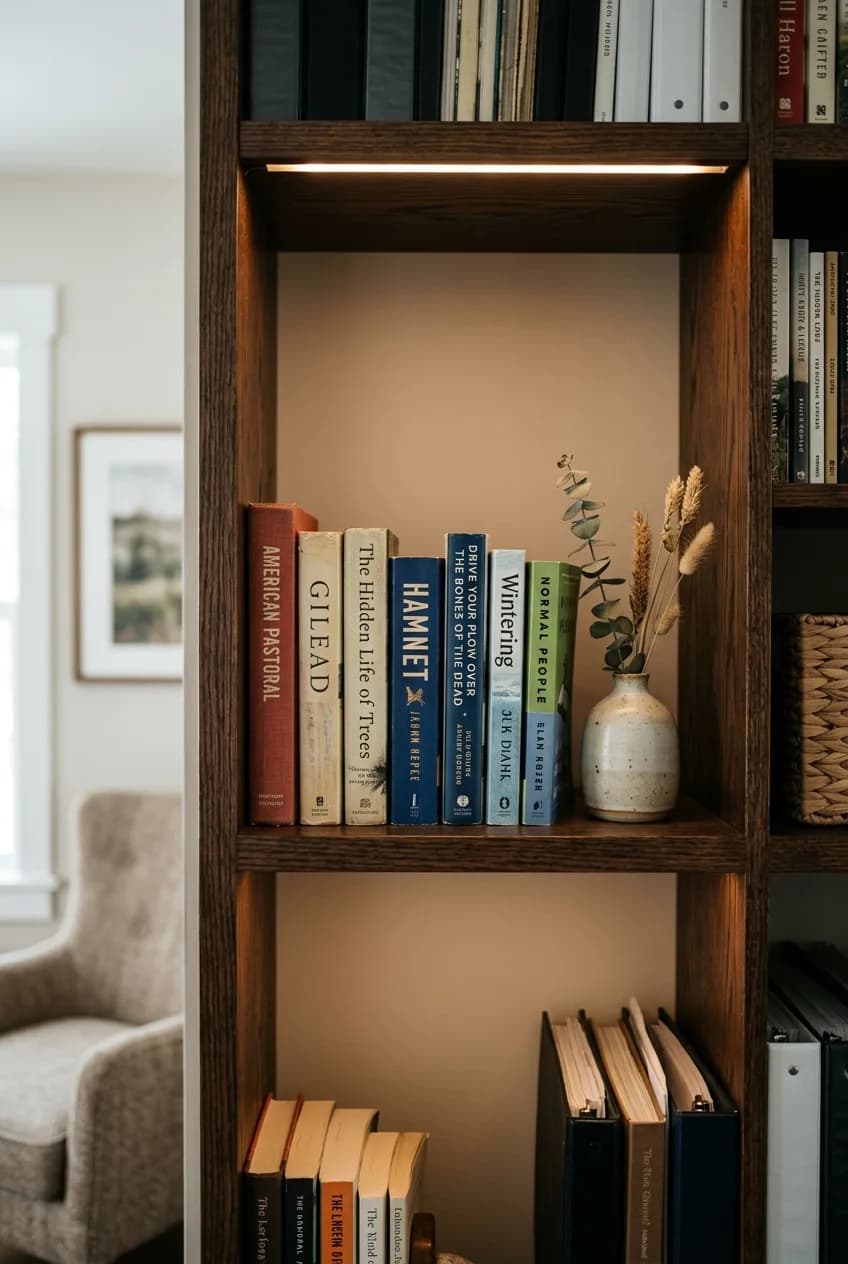
This is the final, and most fun, layer. Accent lighting is the secret weapon that makes a room feel finished and professionally designed. It's all about creating contrast and drawing attention to the things you love. And the best part? There are tons of easy, plug-in options.
A single, inexpensive uplight hidden behind a large plant can have a more dramatic impact on the room's mood than another expensive floor lamp. It's a perfect example of working smarter with your lighting, not just adding more of it.
- Wireless Picture Lights: These battery-powered wonders can be mounted above a piece of art in minutes with adhesive strips. They cast a beautiful, focused beam that makes your artwork pop, just like in a gallery.
- LED Light Strips: Inexpensive and incredibly versatile, these adhesive strips can be placed behind a TV or headboard for a soft backlight (which also reduces eye strain!), under floating shelves to highlight decor, or along the inside of a bookcase.
- Can Uplights: Sometimes called an uplighter or can light, this is a simple, small canister you place on the floor. Tuck one behind a large plant, a sculptural chair, or in a corner to cast dramatic shadows up the wall, making the ceiling feel higher.
Putting It All Together: A Practical Guide to Placement and Cord Management
Now you have all the pieces. Let's arrange them into a cohesive plan and tackle the one thing that can undo all your hard work: messy cords.
A Sample Living Room Layout
Imagine a standard living room with a sofa, two armchairs, and a TV console. The single overhead light is in the center. Here’s a sample layered plan:
- Ambient Layer: The (now dimmable and warm) overhead light provides a base. A torchiere floor lamp is placed in the corner behind an armchair to bounce light off the ceiling.
- Task Layer: An arc lamp extends over the sofa for reading. A small table lamp sits on the console table, providing a gentle light near the TV.
- Accent Layer: An LED strip is mounted to the back of the TV for a soft glow. A small can uplight sits on the floor behind a large monstera plant.
Mastering Cord Management
A beautifully lit room can be visually undermined by a spaghetti-like tangle of cords. Planning your cord management from the start is as crucial as choosing the lamps themselves. This is the final step to a truly polished look.
Run cords along baseboards using paintable cord covers that blend into the wall. Tuck them under the edges of area rugs. For lamps on a sofa table, you can use a decorative box to house the power strip and bundle the excess cord with a zip tie or velcro strap inside. Here's a final pro tip: use a smart power strip. You can plug several lamps into it and then control your entire new lighting scene with a single voice command or a tap on your phone.