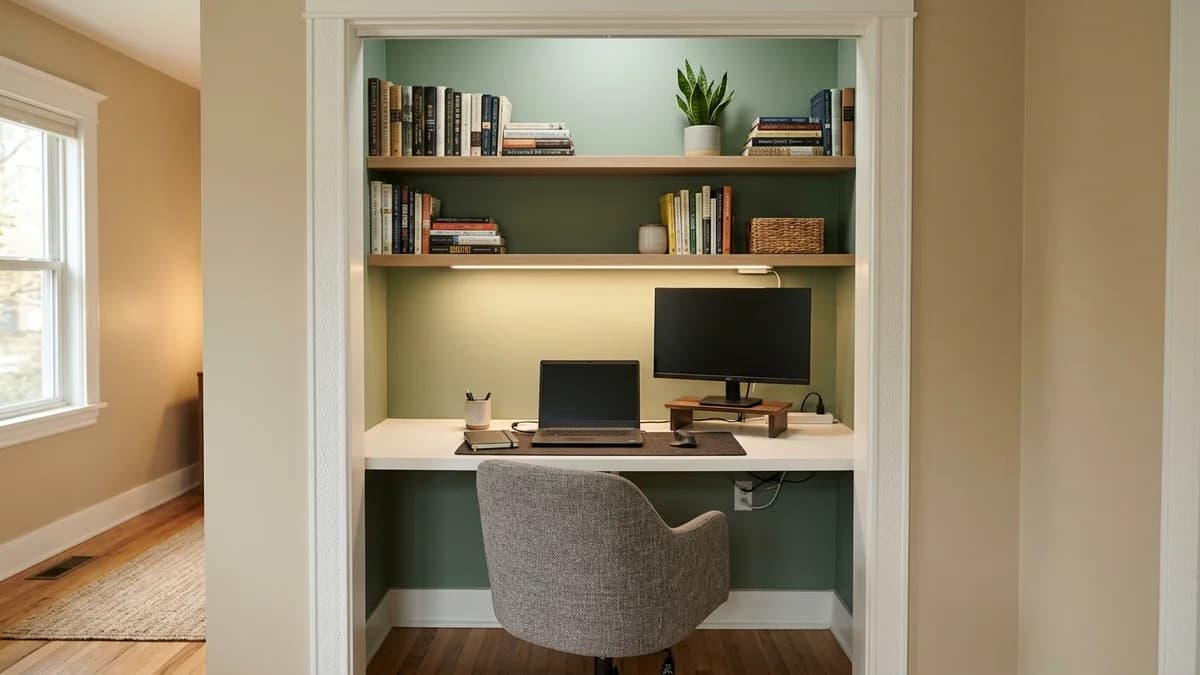
The idea of a 'cloffice'—a closet turned home office—is all over social media, and for good reason. It’s a brilliant way to carve out a dedicated workspace in a home that’s short on spare rooms. It seems so simple: clear out the coats, slide in a desk, and you’re done. Right?
Well, not so fast. While a closet office can be a fantastic solution, there are some real-world considerations that go far beyond the pretty pictures. This isn't just a how-to guide; it's a strategic checklist to help you decide if this popular project is actually the right move for your home, your work style, and your budget. Let's walk through everything you need to think about before you take the doors off the hinges.
Step 1: Assess Your Closet's Potential & Dimensions
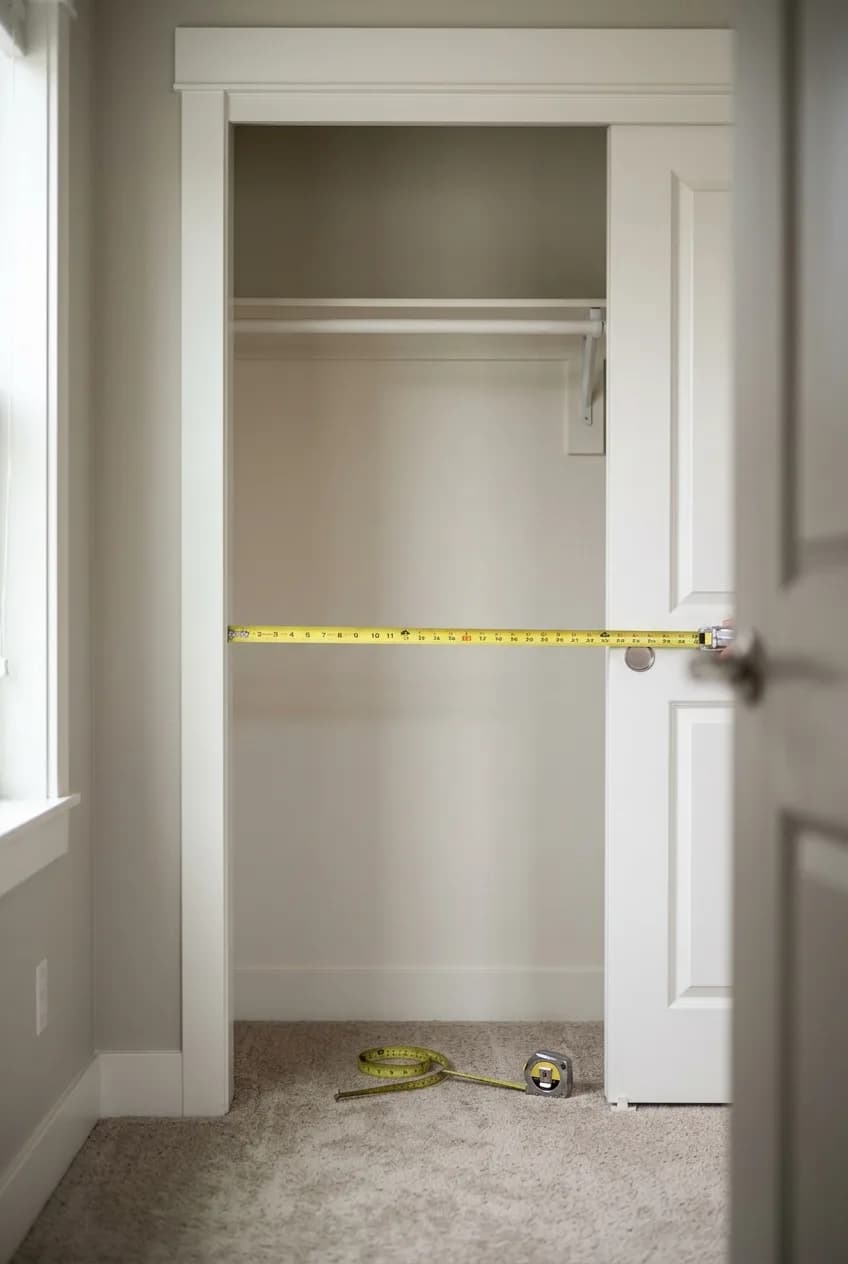
First things first: will you actually fit? It’s easy to get swept up in the design possibilities, but a tape measure is your most important tool at this stage. You need to be brutally honest about the physical space you have to work with.
A standard desk is 24 inches deep, and you'll want at least another 24-28 inches behind that for your chair and the ability to slide in and out without contorting yourself. This brings us to the single most important insight: the depth of your closet is more critical than its width. A shallow closet, even a wide one, can be an ergonomic nightmare. If you can't sit with proper posture and a comfortable distance from your screen, the whole concept is flawed. Aim for a closet depth of at least 48 inches if possible.
For width, you'll need a bare minimum of 30 inches to accommodate a small chair and a laptop. A more comfortable width is 36 inches or more, which allows for a monitor and some elbow room. Don't forget to measure the door opening itself—a 40-inch wide closet with a 28-inch door opening presents its own challenges.
Closet Type | Pros | Cons |
|---|---|---|
Reach-In Closet | Often found in bedrooms or hallways, easy to integrate into a room's flow. Doors can be removed to open up the space. | Typically shallow (around 24 inches deep), making ergonomics a major challenge without modification. Less inherent privacy. |
Walk-In Closet | More depth and width provide ample room for a proper desk, chair, and storage. Can be closed off for privacy and noise reduction. | Requires sacrificing a significant amount of storage. Can feel claustrophobic and requires more attention to lighting and ventilation. |
Finally, take stock of what’s already inside. Can those sturdy shelves be repurposed to hold monitors or supplies? Or does everything, including the hanging rod and top shelf, need to be removed and patched? And where will all the displaced items go? Losing your primary coat closet might mean you need to invest in a new wardrobe or hall tree, adding an unexpected cost to the project.
Step 2: Plan for The Essentials: Power, Light, and Connectivity
A closet is designed to store things, not power them. Getting the technical basics right is non-negotiable for creating a space that’s functional and safe, not just a temporary perch for your laptop.
Adding Power Safely
The ideal solution is to have a licensed electrician install a new outlet inside the closet. This is the safest, cleanest option and typically costs between $150 and $300. If that's not in the budget, your next best bet is a single, high-quality, heavy-duty extension cord (rated for your equipment) connected to a multi-outlet surge protector inside the closet. Never daisy-chain power strips, and use a sleek cord concealer to run the cable neatly along the baseboard to the nearest wall outlet.
Creating a Layered Lighting Plan
A single bare bulb won't cut it and will create harsh shadows and eye strain. Think in layers. Your *ambient* light will come from the main room when the closet is open. But you absolutely need dedicated *task* lighting for your desk surface. Instead of a traditional desk lamp that eats up valuable real estate, consider installing slim, stick-on under-cabinet LED light strips. Mount them to the underside of your first shelf for perfect, shadow-free illumination right where you need it, without sacrificing a single square inch of desk space. A small, decorative *accent* lamp can also add a touch of warmth and personality.
Ensuring a Solid Internet Connection
Don't assume your Wi-Fi signal will be strong inside a closet, especially one located far from your router. Test the signal strength with your laptop before you commit to the conversion. If it’s weak, you have a few options. A simple Wi-Fi extender can boost the signal to that corner of your home. For a more robust solution, a mesh Wi-Fi system provides better overall coverage. If you need an absolutely rock-solid connection for video calls, consider running a long Ethernet cable from your router, hiding it along baseboards or under carpets.
Step 3: Design for Ergonomics in a Confined Space
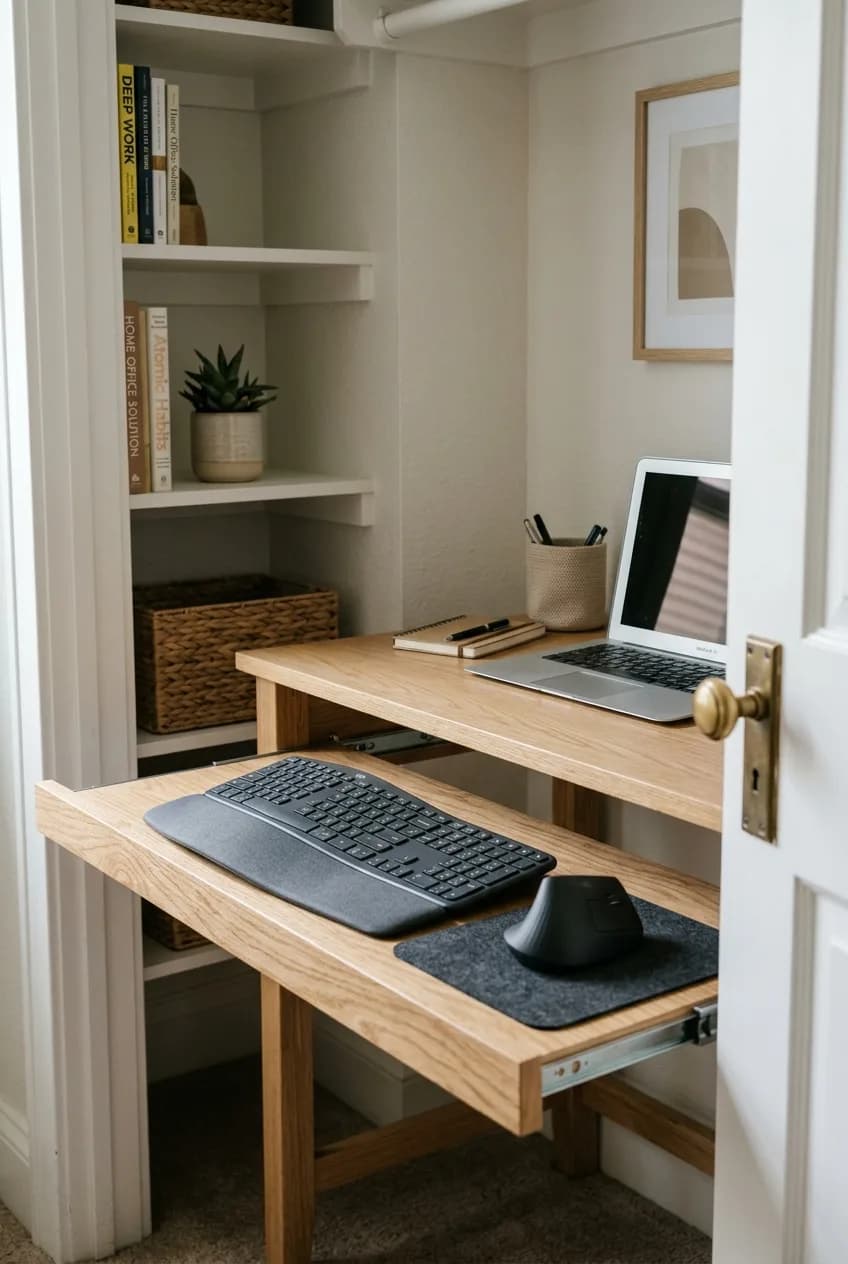
You might spend eight hours a day in this tiny space, so comfort isn't a luxury—it's essential for your health and productivity. Sacrificing ergonomics is the fastest way to turn your clever cloffice into a source of chronic neck and back pain.
Your chair is paramount. Look for a model with good lumbar support, but pay close attention to its footprint. An armless chair or one with flip-up arms can often slide completely under the desk, which is a huge space-saver. For the desk surface, the standard height is 29-30 inches. The top of your monitor should be at or just below eye level, and your keyboard should be positioned so your forearms are parallel to the floor.
This is where our secret weapon for shallow closets comes in: a pull-out keyboard tray. Installing one under your desktop allows you to use a narrower desk surface (say, 20 inches deep instead of 24) while still maintaining the proper ergonomic distance from your screen. It’s a game-changer.
Ergonomic Goal | Key Measurement/Tip |
|---|---|
Healthy Posture | Desk surface at 29-30 inches high. Feet flat on the floor. |
Neck Alignment | Top of monitor screen at or just below eye level. |
Wrist Health | Forearms parallel to the floor; wrists in a neutral, straight position. |
Space Illusion | Paint the interior a light, bright color (like a soft white or pale blue). |
More in Room Ideas
5 Ways to Make That Awkward Bedroom Corner Functional & Stylish
Ventilation is also crucial. Closets have zero air circulation. At a minimum, plan to work with the doors open. A small, quiet USB-powered fan can make a world of difference. To combat the feeling of being in a box, use visual tricks. Paint the inside of the closet a bright, light-reflecting color. A strategically placed mirror can also create an illusion of depth and bounce light around, making the space feel larger and less claustrophobic.
Step 4: Maximize Every Inch with Smart Storage Solutions
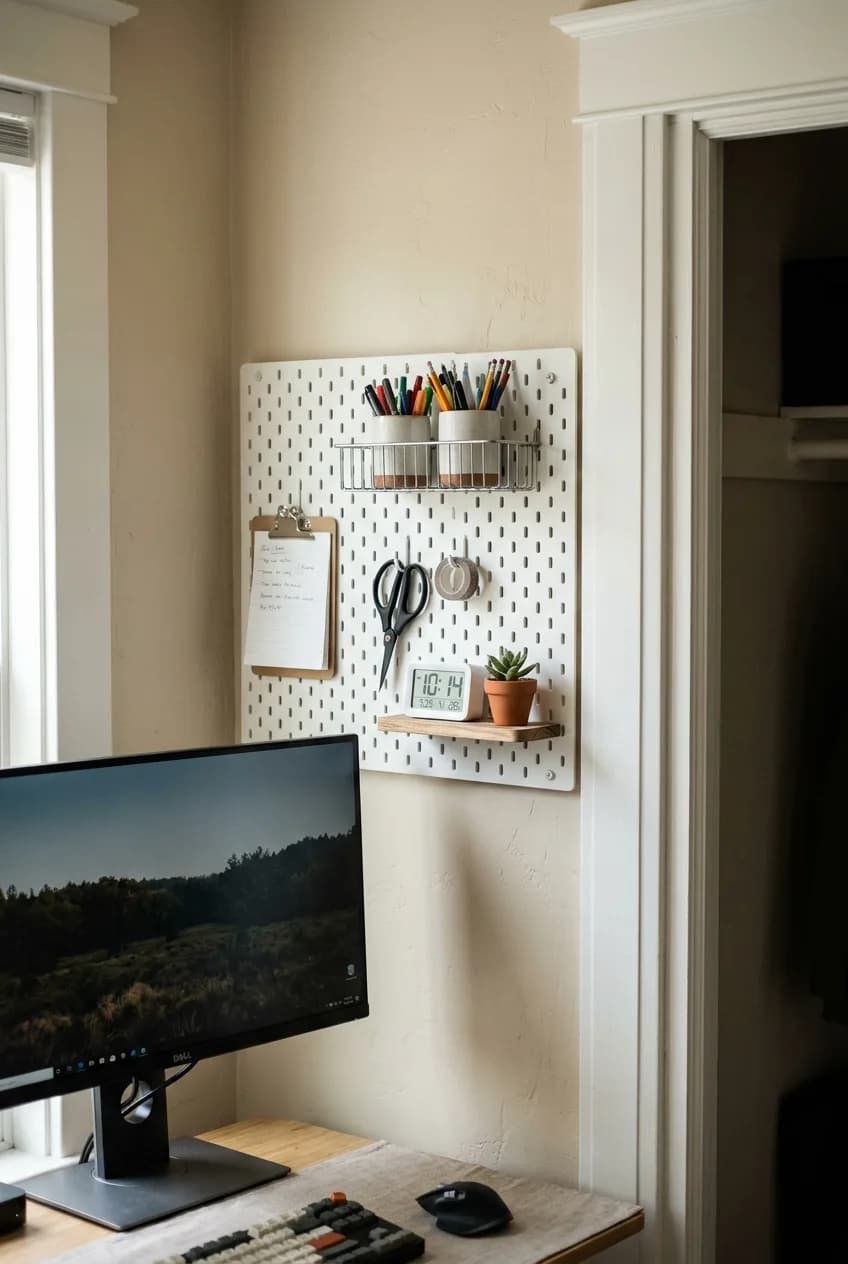
In a cloffice, the walls are your best friend. Your desk surface should be reserved for active work, not storage. Everything else needs a home off the desk and, ideally, off the floor.
Go vertical. Install shelves all the way up to the ceiling. A wall-mounted pegboard above your monitor is perfect for holding pens, scissors, and small supplies in customizable cups and trays. Magnetic panels or metal strips can do the same for small metal items. Think like a ship designer—every surface is an opportunity.
- Choose a monitor stand that has built-in drawers or cubbies underneath.
- Use slim document boxes to file papers vertically instead of in wide stacks.
- If you still have closet doors, use the back of them! Over-the-door file holders, cork boards, or small whiteboards are perfect for notes and reminders.
But don't just think inside the box. Here's a tip many people miss: look beyond the closet itself. The wall space directly above the closet door frame is prime, underutilized real estate. It's the perfect spot for a high 'archive' shelf to store items you rarely need, like old files or extra office supplies. This frees up the more accessible shelves inside the closet for your daily essentials.
Step 5: Budgeting Your 'Cloffice' Conversion: Where to Save, Where to Splurge
The cost of a closet-to-office project can range from a couple of hundred dollars to several thousand, depending entirely on your choices. It's wise to know where your money will make the biggest impact.
Your number one splurge should always be your chair. A high-quality, ergonomic chair is an investment in your health and will pay for itself in comfort and productivity. Areas to save include the desk surface (a sanded and sealed piece of plywood or a secondhand desk can work beautifully), paint, and basic organizers. A fresh coat of paint is one of the cheapest ways to make the biggest visual impact.
Expense Level | Typical Cost Range | What's Included |
|---|---|---|
Basic DIY | $200 - $500 | DIY shelving, secondhand desk, stick-on lighting, power strip, basic chair, own labor. |
Mid-Range | $500 - $1,500 | Electrician for outlet, new ergonomic chair, better lighting, track shelving system, new desk. |
Custom Built-in | $1,500 - $4,000+ | Custom cabinetry and desktop, professional installation, integrated lighting, potentially removing/reframing walls. |
However, the most significant hidden cost isn't in the office itself. It’s the 'storage displacement cost.' You must budget for the new wardrobe, dresser, or storage system needed to house the clothes and items you've just evicted. Forgetting this step can lead to a beautifully organized cloffice in a now-chaotic and cluttered room, defeating the entire purpose of creating a calm, focused workspace.
Step 6: Considering Your Exit Strategy: Reversibility and Resale Value
Before you start any demolition, think about the future. Will you always need this office? Will future buyers of your home need a closet more than a tiny workspace? Planning for reversibility is a smart move.
Whenever possible, opt for non-permanent changes. Use a freestanding desk that can be easily removed rather than a custom built-in that's screwed and glued to the walls. If you remove closet doors, wrap them carefully and store them in the attic or garage. Keep the original hanging rod and shelf supports in a labeled box. This makes it simple to convert the space back to a closet in an afternoon.
A great insight here is to choose adjustable systems. When installing shelving, opt for wall-mounted track-based standards that are screwed into studs. This type of system, like those from The Container Store or Rubbermaid, is incredibly strong and flexible but is far easier to remove and patch over than custom-built cabinetry. It gives you the function you need now while preserving the room's future options.
That said, don't worry too much about resale value. In today's remote-work culture, a well-executed, clever workspace can actually be a positive selling feature. You can market it as a 'flex space,' 'work nook,' or 'Zoom room,' showing buyers the home is already adapted for modern life. The key is that it's thoughtfully done and, ideally, easily reversible.